I've been working to build a model of a "transport" moai. These moai are found fallen on the roads that lead from Rano Raraku to areas across the island. Maps of these roads can be found at our http://www.rapanuidatabase.org via the downloadable KML files (and Google Earth). These statues are ones that have "failed" in transport -- for whatever reason, they toppled over and were not re-raised (largely impossible on big ones and any that could not be "excavated" back onto the landscape). Modeling a fallen moai is a key task since the ones that reached the ahu were often modified at that point to trim the bases and make them more upright (rather than tilted forward).
The hard part about doing this is that the statues are, by definition, fallen and thus are not easily photographed in 3 dimensions (unlike the upright ones). If a statue has fallen on its back, you get reasonable information about its front (and vice versa). I did my best with a statue that fallen on its back. You can view the photosynth of this moai here:
http://photosynth.net/view.aspx?cid=f895e1a6-cb75-4a24-b136-c79ee44d48eb
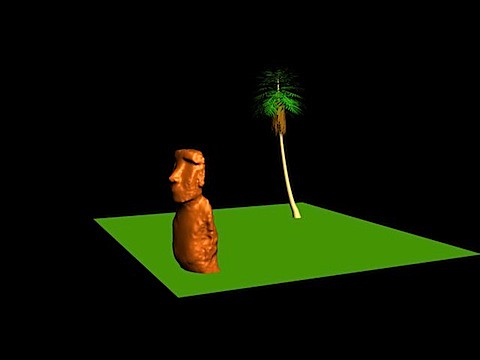
To generate the new model, I created a point cloud out of the photosynthed photos. I then used VRMesh - a trial version of a commercial software package -- to build a mesh object. It took a lot of tweaking to turn this into a watertight object given the noisy pointcloud and the lack of a backside for the moai. Then using AutoDesk 3ds Max (a 30-day evaluation copy), I turned the mesh into an object in a physical object. This is the result (below). The palm tree is in there just for goofs - it is not a jubea palm so not even remotely appropriate for Rapa Nui, but you only get a couple of choices...).
Now I've got to figure out how to make the moai "move" in a physical realistic way. That is going to take learning a lot more about Autodesk 3ds Max - which is insanely complicated and probably vast overkill for what I'm trying to do (but, for 30days at least, it's free to try).
Using Autodesk 3ds Max, however, I can calculate the center of mass, though. This tells me, as I expected, that center of mass is forward, towards the leading edge of the bottom. The center of gravity is not, as I was thinking, low. In fact, the center is precisely in the middle of the moai. Why is this?
I think the answer is because that is where you would want it to be if you were going to "walk" the moai across the landscape in the inverted pendulum model. If you put the center of mass low, you would have a stable object, but rocking the object would take a great deal more energy since you'd have to move the top quite a bit before the low center of mass moved at all (imagine what would happen if it was a cone and the COM was basically even to the ground). Putting it higher allows the minimum amount of investment in tilting the object to get it to move. But if you put it too high, it would be really unstable and more likely to fall over. So the best solution, is to put it right in the middle.
Of course, this placement makes no sense at all if you moved the statue while it was horizontal and on a bunch of logs (as many might claim). In fact you'd probably want to have the center of mass closer to base to making standing it up easier. That way, you would have to invest the minimum amount of effort getting it tilted up before it "rights itself." Another clue to moai transport.
No comments:
Post a Comment